Block Printing vs Screen Printing for Home Textiles: A Practical Comparison
A length of washed cotton, a pot of ink and a design you have been turning over for weeks. The question is how the ink actually reaches the cloth. Block printing and screen printing are the two methods most home textile makers reach for, and they behave very differently in a small studio. One rewards patience and a steady hand. The other rewards careful preparation and a clean squeegee pull. Neither is better than the other — the right choice depends on your motif, how many pieces you need, and how much space you have to work in.
How Each Method Puts Ink on Fabric
Block printing
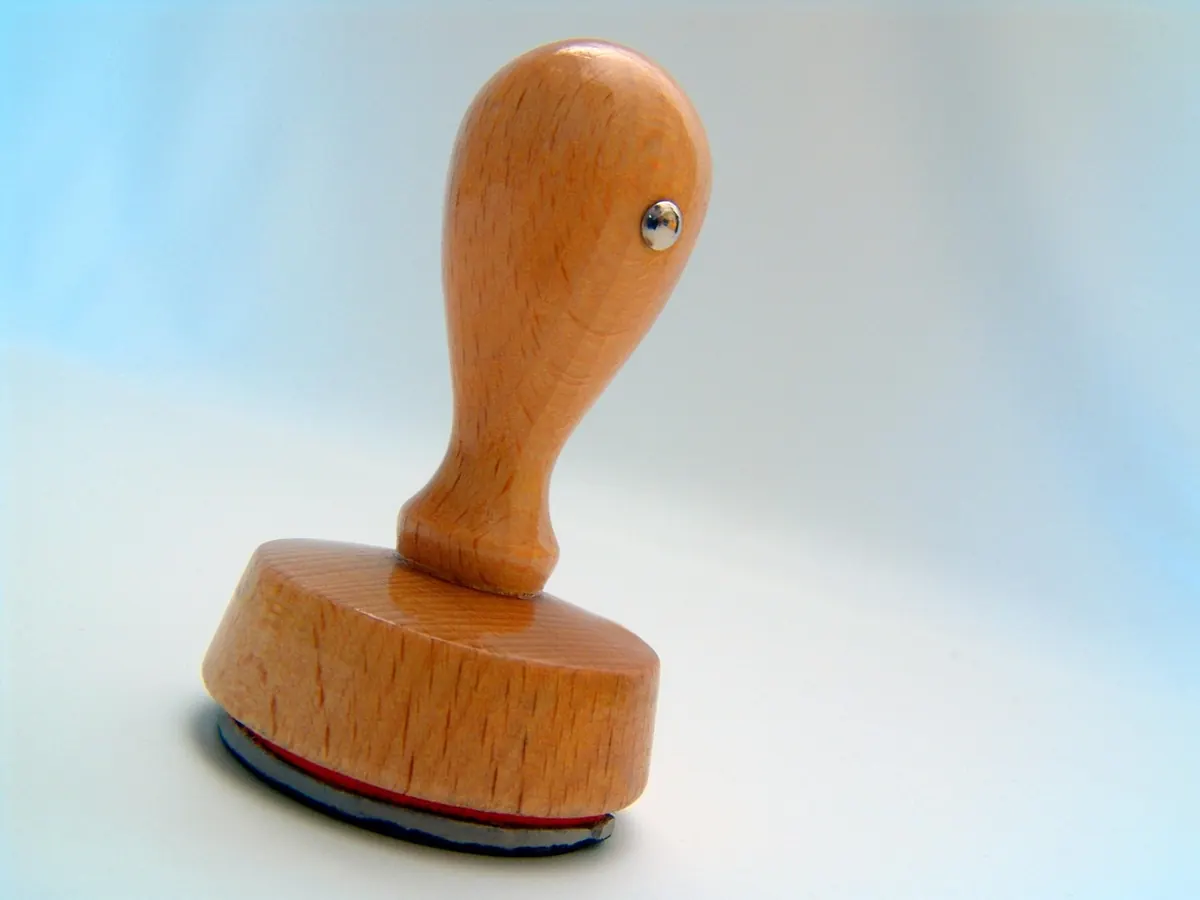
A block — carved wood, lino, rubber or a firm foam shape — is inked on its raised surface and pressed down onto the fabric. You build the pattern by moving the block along the cloth, re-inking between impressions and lining each print up by eye or against small registration marks. There is no mesh and no emulsion, so setup is quick and you can start printing within an hour of finishing the carving.
Screen printing
A fine mesh is stretched over a frame, and a stencil is created on it. For simple shapes you can block out areas with filler or tape. For anything detailed, you coat the mesh with photo-emulsion, expose your design through a transparency, then wash away the unexposed areas to open up the pattern. Ink is pulled across the mesh with a squeegee and passes through those open areas onto the fabric. Each colour needs its own screen and its own pass.
Cost: What You Are Actually Paying For
Block printing has the lower entry cost. A lino cutter, a couple of spare blades, a sheet of lino, a roller, a tray and a tin of textile ink will see you through a first project. Blocks you carve yourself cost time rather than money. If you buy ready-carved wooden blocks, the price varies enormously with size and craftsmanship — the fine hand-carved blocks made in traditional workshops are worth the outlay if you will use them again and again. Their limitation is that the block is fixed: change the design and you carve or buy again.
Screen printing asks for more kit up front. Frames, mesh, emulsion, a scoop coater, a squeegee, a light source for exposure and transparencies all add up, and there is more that can go wrong. But once a screen is made, it prints quickly and repeatably, so the cost per piece drops sharply across a run. With blocks, per-piece labour stays roughly constant, because you print every repeat by hand. In both methods, the quiet hidden cost is fabric — failed prints, misjudged registration and test pieces all consume cloth.
Scale, Repeats and Registration
Blocks come into their own on short runs: a set of tea towels, a handful of cushion panels, a metre or two of cloth for a project. Continuous repeats over three metres are tiring and tend to drift, but a slight wobble between impressions is part of the appeal of the technique rather than a fault.
Screens are front-loaded. Making and exposing the screen is the slow part; the printing is fast. Once a screen is behaving, a ten- or twenty-metre run is a realistic afternoon's work, and you can hold a full-width repeat for something like a duvet cover. Multi-colour registration is much easier if you build a hinge or a printing table with stops, rather than trusting your eye with a loose screen.
Detail, Line and Colour
A block can only print what its relief allows. Very fine lines are prone to crumbling or clogging with ink, and small enclosed shapes tend to fill in. Water-based textile inks are comparatively thick and spread slightly under pressure, so a one-millimetre line may print wider than you drew it. Bold, high-contrast shapes hold up best, and the grain of a wooden block can leave a lovely texture in the printed area.
Photo-emulsion screens hold genuinely fine lines and halftone dots, which is how you achieve tonal effects and soft shading on fabric. Large flat areas of colour print evenly, and lettering or handwriting is achievable. The trade-off is registration tolerance: every extra colour is another screen, another pass and another chance for a millimetre of drift, with drying time between layers.
Matching the Motif to the Method
- Bold geometrics — tiles, chevrons, stripes, grids and dots — suit blocks, where the extra weight of ink holds the structure.
- Simple botanical silhouettes and folk-style flowers print well from a block, especially where the shape is chunky enough to carve cleanly.
- Scattered single motifs, stamped across a tablecloth or quilt panel, are far quicker by block than by screen.
- Fine line illustration, hand lettering and typography belong on a screen.
- Halftones and tonal shading built from dots need photo-emulsion and a screen.
- Multi-colour designs with tight registration and large solid areas are screen territory.
- Long, perfectly even repeats over several metres are much easier to control on a screen.
- Any design where irregularity is the whole point will look better from a block.
Fabric, Ink and Fixing: Shared Ground
Both methods work best on natural fibres — cotton, linen, hemp — because water-based textile inks need something absorbent to grab hold of. Pre-wash the fabric to remove the sizing and finish applied during manufacture, then press it flat. Pad your printing surface with a few layers of blanket under a waterproof sheet: it gives the block or squeegee something to press against and stops ink bleeding through to the table. Always test on an offcut before you commit to a length.
Fixing is where beginners come unstuck. Most textile inks need heat setting, usually by ironing from the reverse or through a pressing cloth, but the exact temperature and timing depend on the product. Follow the manufacturer's instructions rather than a general rule, and give the ink time to cure before the first wash. Wash printed pieces separately on a cool cycle first, then inside out thereafter. If you intend to sell your work, check the current UK requirements for textile labelling and for any restrictions on the chemicals in your inks — your ink supplier is the best starting point, and it is worth taking proper advice before you list anything for sale.
Choosing for Your Next Project
If you are testing an idea, carve a lino block. The cost is low, the feedback is immediate, and you will learn quickly whether the motif has legs. If you already know the design works and you need thirty identical cushion covers, build a screen and accept the slower start.
Plenty of makers end up using both. A block-printed background with a screen-printed detail over the top gives you texture and precision in the same piece, and it is a good way to use up a screen that only carries part of the design. Whatever you choose, print a metre of calico in one colour before you commit to a full run, and keep notes on the ink, the fabric and the block or screen you used. Those notes are what let you reproduce a print six months later when someone asks for a second one.
Photo: aitoff / Pixabay
How to Carve Rubber Stamps for Repeating Motifs on Fabric
Carve a simple rubber stamp, load it with fabric ink and print evenly spaced repeats onto cotton or linen...
Motif vs Pattern: What's the Difference in Surface Design?
A motif is a single self-contained shape; a pattern is what you get when repeats, layout, scale and colour...
About Us