How to Carve Rubber Stamps for Repeating Motifs on Fabric
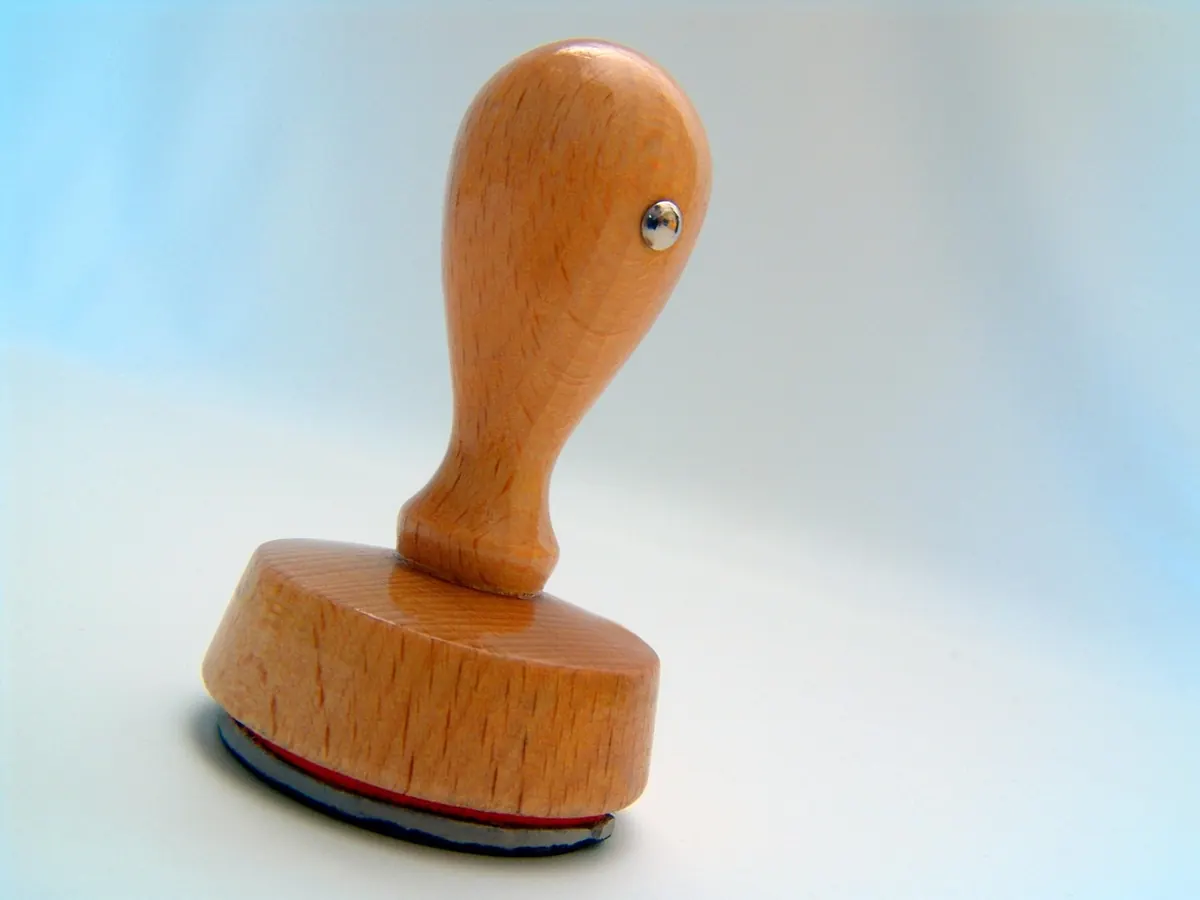
Home-printed fabric has a particular charm. The ink sits slightly unevenly, the motif lands a fraction differently each time, and the finished tea towel belongs to nobody else. The encouraging part is that you need no press, no studio and no previous experience. A rubber block the size of a matchbox, a couple of gouges and a small tin of fabric ink will get you printing this afternoon.
What follows covers the whole process: designing a motif that carves cleanly, cutting the block without slicing your thumb, loading the stamp properly, and laying down a repeat across a metre of cotton without the pattern drifting. It ends with the unglamorous part — heat setting and washing — which is what decides whether the work survives its first spin cycle.
What You Need to Carve and Print
You can spend a fortune on supplies, but the basic kit is short and inexpensive. Specialist stamp-carving rubber is soft and forgiving; traditional lino is firmer and holds finer edges once you are used to it.
- Rubber carving blocks, or a small piece of lino
- A lino cutter with interchangeable gouges — a narrow V-gouge for outlines, a wider U-gouge for clearing background
- A craft knife, a metal ruler and a self-healing cutting mat
- Tracing paper and a soft pencil
- A brayer (roller), plus a smooth acrylic sheet, glass offcut or glazed tile to roll ink on
- Fabric screen-printing ink in your chosen colour
- Pre-washed cotton or linen, pressed flat
- Masking tape and tailor's chalk for repeat work
Designing a Motif That Carves Well
Simple silhouettes beat intricate drawings every time. A motif around 3–5cm across is comfortable to handle, and a repeat looks better with a small stamp used often than a large one used twice. Keep lines at least 2mm thick. If your design has an island in the middle — the centre of an O, say — it needs a bridge of rubber connecting it to the rest, or it will fall out on the first print.
Remember the print comes out mirrored. Anything with lettering must be drawn back to front, and asymmetrical shapes will flip. If that matters, trace the design onto tracing paper in soft pencil, lay it pencil-side down on the block and burnish the back with a spoon; the graphite transfers the right way round. For symmetrical motifs, drawing straight onto the rubber with a fine permanent marker is quicker.
Leave a border of at least 5mm around the design so the block has shoulders to press down on.
Carving the Block
Cutting technique
Cut away from your body and keep the hand holding the block behind the blade, never in front of it. Short, controlled strokes work far better than long pushes. Enter the rubber at a shallow angle, then drive forward. Outline the design first with the V-gouge — that protects the edge you want to keep — then clear the surrounding waste with the wider tool.
Carve to roughly 2–3mm deep. Deeper is not better: thin walls crumble and the raised surface starts to sag. When you need to turn a corner, rotate the block rather than twisting your wrist, and cap the gouge when you set it down.
Test, adjust, repeat
Ink the block and stamp onto scrap paper. Areas that should stay white but print with colour need to be gouged deeper. Lines that have vanished mean you cut into the raised surface; you can either recarve the block or accept the change as part of the design. Trim the outside edges of the block with a craft knife if the border keeps printing.
Ink, Fabric and Working Conditions
Natural fibres take fabric ink best. A tight plain weave — quilting cotton, poplin, medium linen — gives crisper edges than loose weave or towelling. Pre-wash new fabric to remove the sizing, which can repel ink, and iron it flat.
Water-based fabric inks are easy to clean up but dry quickly on the block; oil-based ones are slower to work with and more hard-wearing. Follow the instructions on the tin. Squeeze a line of ink onto the acrylic sheet and roll the brayer back and forth until it hisses and carries an even film. Roll that film onto the block in several directions. You want a thin, tacky layer, not a puddle — too much ink is the single most common cause of blurry prints.
Work on something firm but slightly padded: a folded towel under a sheet of heavy card, or fabric stretched over a padded board.
Printing a Clean Repeat
Set up a guide rail
Run a strip of masking tape across the fabric and press it down firmly. Butt the top edge of the stamp against the tape for every print, and mark your spacing on the tape in pencil beforehand. Re-ink every one or two impressions, because the film thins quickly. Press straight down, apply firm even pressure with the heel of your hand, then lift straight up without letting the block slide sideways.
Repeats with a bit of movement
A plain row repeat suits borders and hems. For a brickwork effect, shift each row along by half the width of the motif. Turning the stamp through 180 degrees between rows gives a mirrored, almost folk-art rhythm that hides small inconsistencies well. Chalk a mark at the first print of each row before you ink it, and check the alignment with a ruler every few rows — tiny errors compound until a stripe visibly bends.
Heat Setting, Washing and Small Repairs
Let the print dry flat, away from direct heat, for as long as the ink maker specifies. Then heat set it: iron on the reverse through a pressing cloth, with no steam, at the highest temperature the fabric will tolerate. The manufacturer's timing takes priority over any general advice.
After that, wash inside out in cool water with a mild detergent and dry away from strong sun. Colours soften gradually over years of washing, which is normal for home printing.
- Blurry outlines: too much ink, or the block slid. Re-ink more sparingly and lift straight up.
- Patchy prints: uneven pressure or too little padding beneath the fabric. Stand up and use your body weight.
- Ink where it should not be: that area is not carved deep enough, or a ridge is catching the brayer.
- Faded after washing: usually the print was not heat set, or the water was too hot.
Start With Something Small
For a first project, print a single 4cm motif in one row along the hem of a plain cotton tea towel or a tote bag. One stamp, one colour, one straight line. Keep a notebook with the design drawn out, the ink used, the fabric and the iron setting, so that when a print turns out well you can repeat it. Stamps store for years laid flat, out of sunlight and away from radiators; dust them with a little talcum powder if the rubber turns tacky. Keep your gouges capped, cut away from your fingers, and print on scrap cloth until the stamp behaves the way you want.
Photo: foturo / Pixabay
Motif vs Pattern: What's the Difference in Surface Design?
A motif is a single self-contained shape; a pattern is what you get when repeats, layout, scale and colour...
Wallpaper Repeat Checklist: Measuring, Matching and Ordering with Confidence
A practical, wall-by-wall guide to measuring rooms, reading pattern repeats and match types, and ordering...
About Us